1978: Some More Heavensward Thoughts

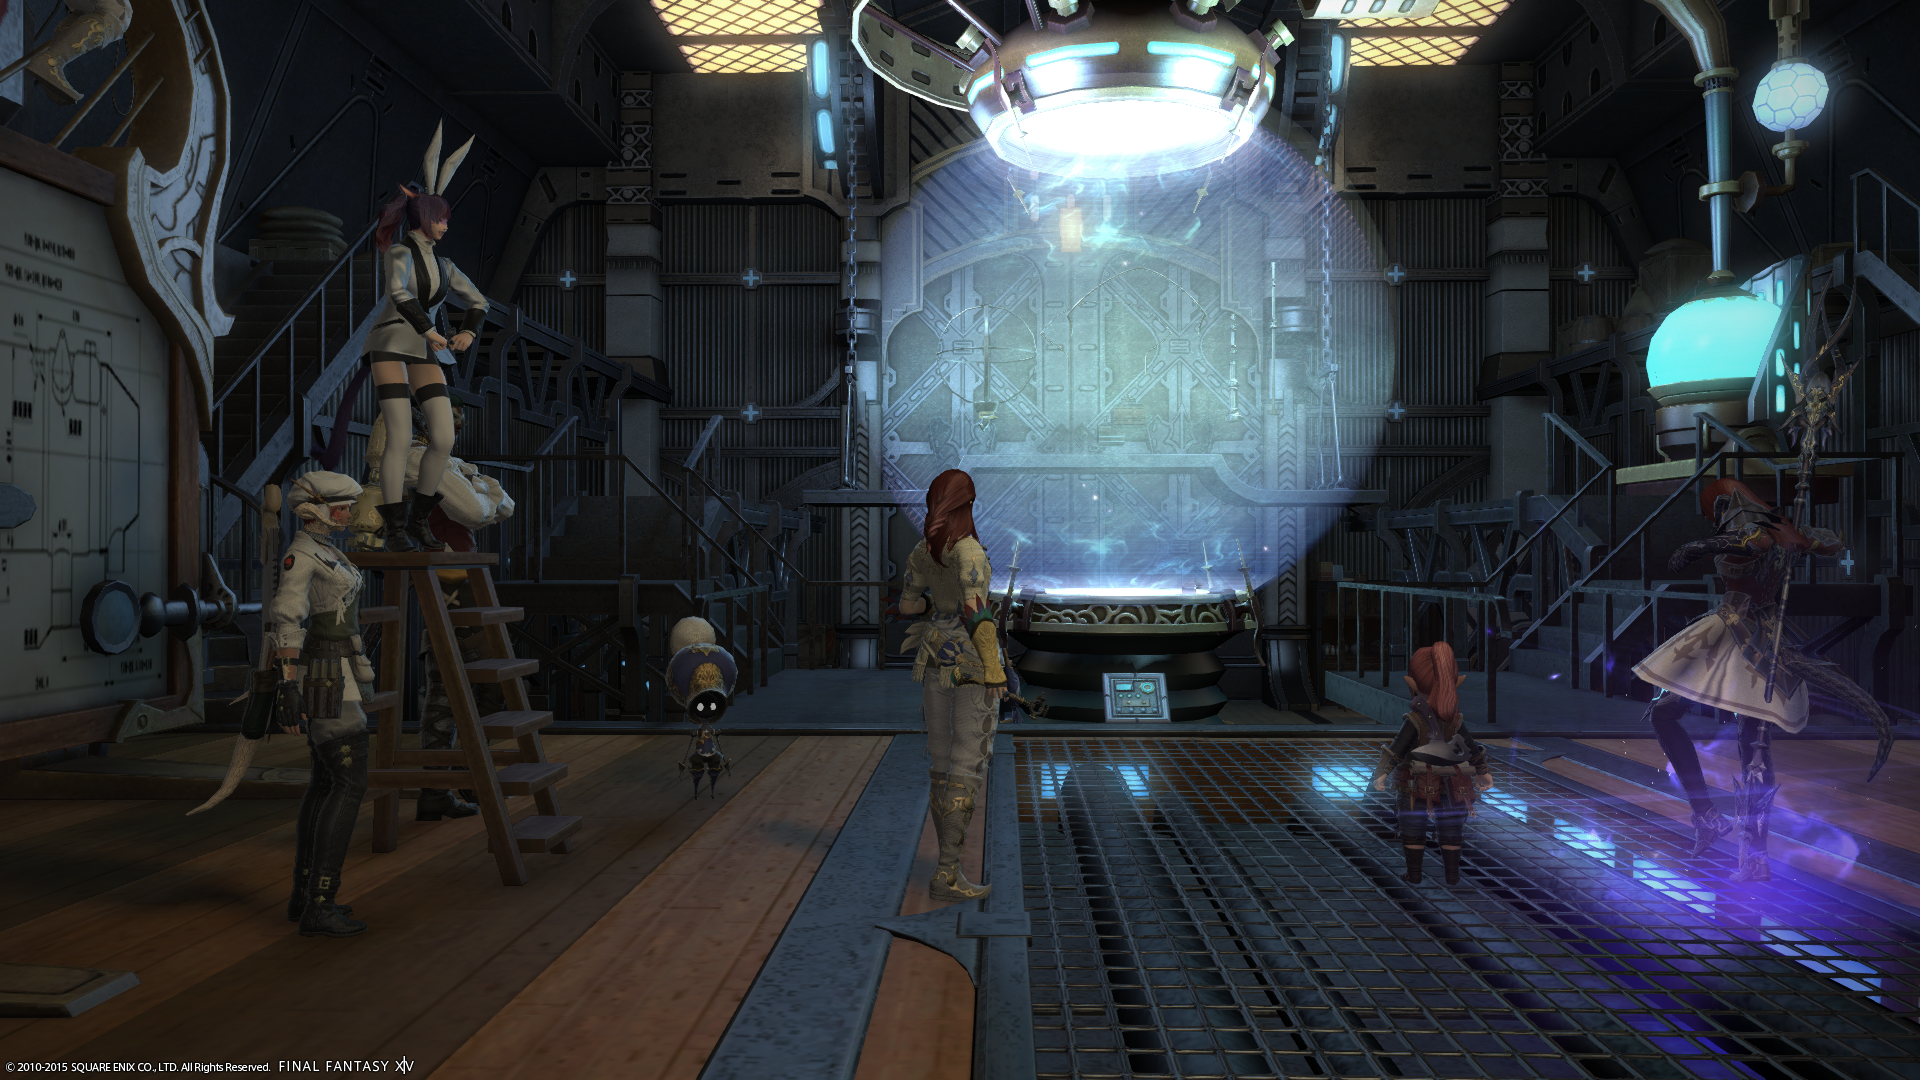
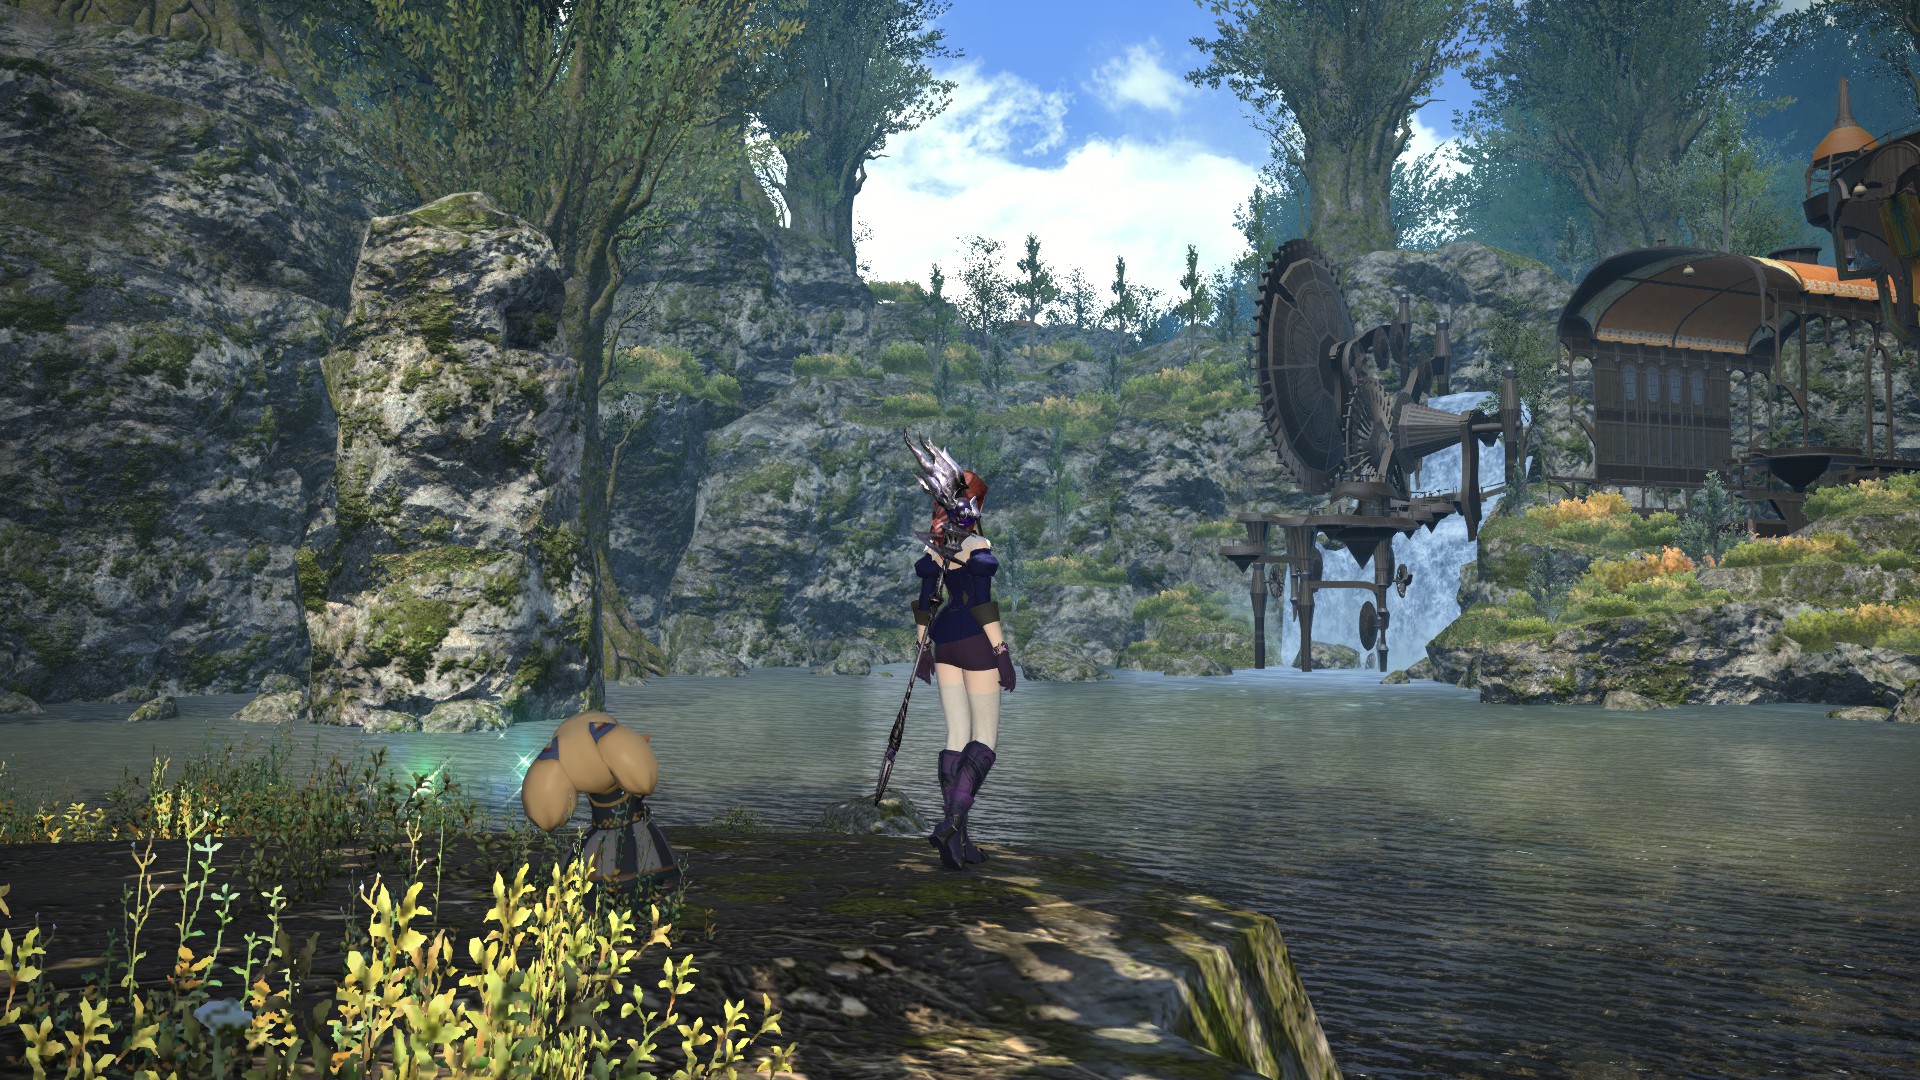
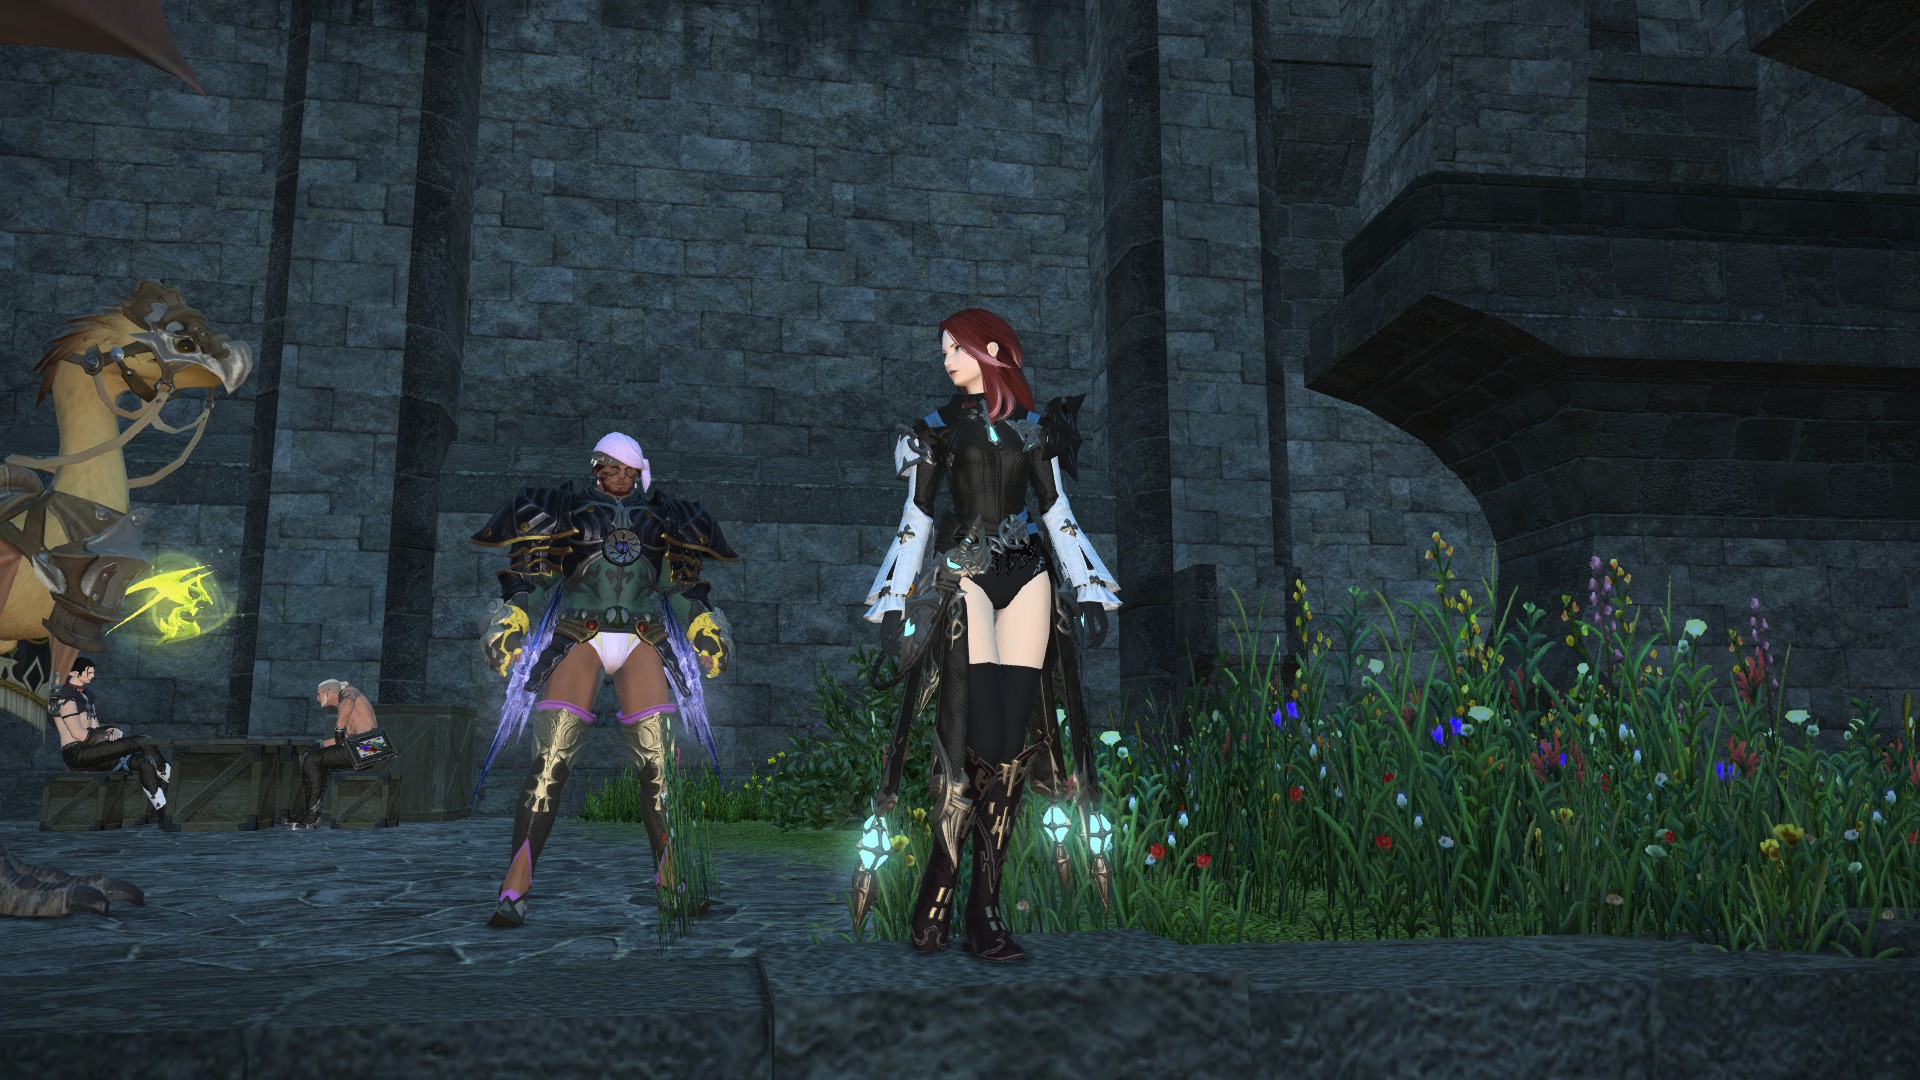
Spent some more time playing Heavensward today and am having an absolute blast with it.

It's been an odd adjustment to move from the rather freeform, "pursue your own goals" gameplay of a level cap character back into the routine of doing quests, exploring and all manner of other things. But I'm enjoying it a lot, particularly as so far Heavensward is proving itself to have a wide variety of things to do and ways to earn those all-important experience points.

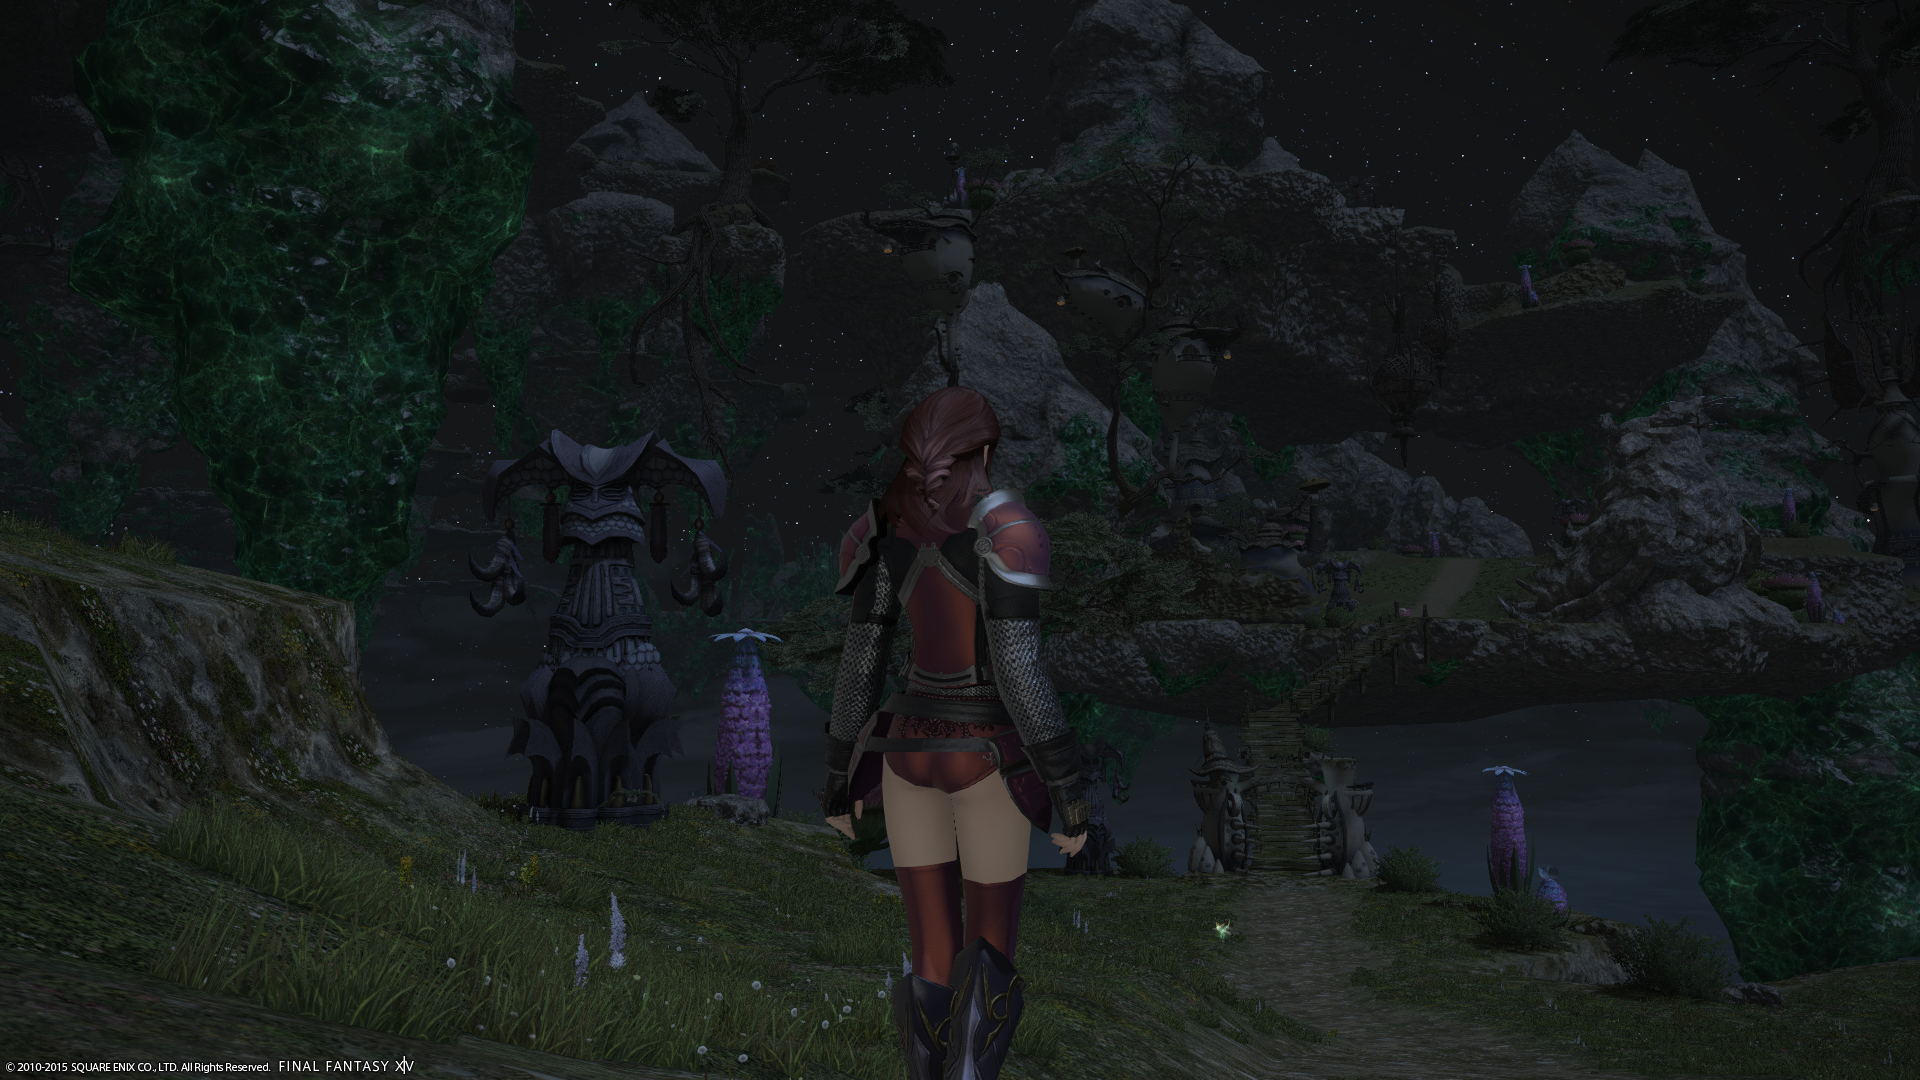
ffxiv_20062015_141237

The main story quests have been very good so far. They always were mostly quite interesting (though in the post-50 ones there was quite a lot of lugging boxes around and other menial tasks in between the more dramatic moments — not exactly the Warrior of Light's finest hour) but Heavensward has raised the bar somewhat.

One way in which it's done this is through the use of instanced quest battles — scripted encounters that take you out of the main multiplayer world and put you in your own private little area to complete objectives. In A Realm Reborn, these were usually fairly small scale but fun; in Heavensward they're much more ambitious affairs with their own unique mechanics. One particular highlight relatively early on sees you running through one of the earlier dungeons by yourself in the attempt to rescue a prisoner — while you do so, their captors start filling the place with poison gas, so you have to deal with that as well as finding a way to release them.

The main story itself is interesting and feels more focused than A Realm Reborn, too. Taking a somewhat darker overall tone, the plot thus far has seen the Warrior of Light (you!), one of your erstwhile companions and two other characters who each played roles in A Realm Reborn exploring the lands beyond Ishgard in an attempt to stop a war between the Dravanian dragons and Ishgard that will doubtless end with much death and destruction on both sides.

ffxiv_20062015_144146

A Realm Reborn set up dragons mostly as fearsome, dehumanised foes to be treated with respect but defeated nonetheless. They played a relatively minor role in the overarching storyline until the latter hours and the Binding Coil of Bahamut storyline, but they were there nonetheless — and as you progressed, particularly through the Bahamut narrative, it became very apparent that they weren't quite the simple foes you might have expected them to be based on their appearances in other fantasy media.

Heavensward runs with this theme, with both the main story and sidequests going some distance to help us understand the dragons a little better. One questline in particular sees you helping out an Ishgardian who is essentially a "racist" of sorts against dragons — he refuses to believe they are anything more than monsters, but as you complete his quests, both you and he come to see that the dragons apparently have feelings and society just like the humanoids of the world.

The sidequests are kind of interesting in that they further your understanding of the game world much like in A Realm Reborn, but unlike the base game, the darker tone seeps in quite often, with many quests ending in less than perfect circumstances. In some regards it feels like some cues have been taken from Nier — also published by Square Enix — by demonstrating that sometimes, even with your best intentions and god-felling skills and abilities, you simply can't bring about a happy ending for everyone. It's sobering, but very much in keeping with the overall tone.

ffxiv_20062015_154720

Then you have boss fights in which you and seven friends take on a giant insect god with a penchant for swinging four gigantic swords around at once, and you remember that this is still very much a Final Fantasy game at heart — and oh, do I love it for it.

1977: To The Heavens

Well, it's finally here: Final Fantasy XIV opened the doors to its first full expansion Heavensward today — for those who preordered it, anyway — and I've spent literally all day playing it.

It's good.

The story follows on directly from the end of the 2.55 story arc, which I won't spoil here for those who haven't seen it in all its ridiculous and tragic glory. Suffice to say, however, that it provides good reason for the Warrior of Light (that's you!) and occasional companion Alphinaud to head in the direction of Ishgard, a region which had previously been closed off to outsiders, but which became a little more open-minded after seeing how you (and seven friends) fended off an absolutely massive dragon towards the end of A Realm Reborn.

The city of Ishgard itself is beautifully rendered, being somewhat similar in design to a cross between Final Fantasy XI's cities of San d'Oria and Jeuno. It has its own very distinctive character that is separate to the three previous city-states we had the opportunity to visit in A Realm Reborn — the verdant, nature-filled environs of Gridania; the tall towers and tall ships of Limsa Lominsa; and the juxtaposition between extreme affluence and extreme poverty of Ul'Dah — with an austere, almost unwelcoming facade and some beautiful architecture. The kind of place where you'd be slightly afraid to touch anything, lest you befouled or defaced it in some way or another.

Outside the city, things get interesting. Early on, the main scenario quest sends you off in two separate directions: in one direction lies the Coerthas Western Highlands — a snowy, mountainous region similar to the existing Central Highlands region, but with more in the way of sheer cliff faces and inconvenient but impressive-looking lumps of rock all over the place — while in the other lies the Sea of Clouds, a floating archipelago of islands in the sky where skies are often clear and blue by simple virtue of the fact that the islands are above the clouds, but whose altitude drops the temperature to less-than-inviting levels. There's a huge contrast between these initial two areas; Coerthas is drab, monochromatic and somewhat grounded in reality for the most part (huge dead dragon corpse aside), while the Sea of Clouds is dramatically colourful, the stuff of pure fantasy. I haven't proceeded further afield just yet, but the main story is shortly to have me heading for Dravania, home of the dragons, so I'm interested to see how that compares.

One really striking thing about Heavensward is its sense of scale. A Realm Reborn was no stranger to sprawling environments that were impressive to behold, but Heavensward takes it to a new level. Ishgard is gigantic and imposing in the same way an old cathedral is; meanwhile, the field maps are huge in terms of both surface area and variation in altitude — the latter aspect of which is, in part, designed to accommodate the new flying mounts you can ride around after completing the surprisingly enjoyable task of hunting down a number of hidden "aether currents" scattered around the region.

Another striking thing about Heavensward is nothing to do with its architecture, however: a good 80-90% of the original voice cast appears to have been replaced, meaning some characters sound quite different to how they sounded in A Realm Reborn, with several even having picked up regional accents (primarily Yorkshire so far) in the intervening period. It's initially somewhat jarring, but overall the quality of the voice acting is much better than A Realm Reborn. This isn't particularly difficult, however, because although A Realm Reborn had an excellent localisation (albeit one that diverged quite a bit from the original Japanese script and took on something of a life of its own) its voice acting was passable at best and woefully awful at worst. At least in English it was, anyway; the Japanese voice acting makes use of well-known voice talent like Rie Tanaka (Hyperdimension Neptunia) and Eri Kitamura (Senran Kagura) and as such has always been pretty good, but it's clear that the English dub was perhaps, to put it politely, done a little bit on the cheap side.

It's not entirely surprising, mind you; A Realm Reborn was a huge risk for Square Enix given Final Fantasy XIV version 1.0's critical and commercial failure. As such, the decision to perhaps skimp a bit on the voice acting budget — many scenes in A Realm Reborn and indeed Heavensward also are unvoiced — was understandable. However, since A Realm Reborn achieved the seemingly impossible and rescued an all-but-dead MMO from oblivion, turning it into one of the company's greatest success stories in the process, it's gratifying to see that a bit more effort has been put into aspects of the presentation such as voice acting — even if the change in some characters' voices is a little surprising the first time you hear it.

I'm yet to try out a huge amount of the new gameplay features — I'm concentrating on levelling my main class Paladin to 60 before levelling anything further — but the new skills for existing classes look interesting, and the altogether new classes seem to be really cool, though it looks as if "lolDRK" is going to become the new "lolDRG". (Context for those unfamiliar: for the longest time, Dragoons (DRG) were notorious for dying a lot, due in part to their low magic resistance but also due to awkward animation locks on certain skills making it difficult to move out of the way of attacks; hence, "lolDRG" as the response to a Dragoon's inevitable death; Dark Knights (DRK), however, appear to be ready to take up the mantle for themselves, from what I've heard so far.)

Oh, and the music is amazing. And the story is interesting. And I've fallen in love with this stupid game all over again. There goes the next few years of my life…

1975: Bahamut Down

In the early hours of this morning, Wuckle and I achieved something I hoped we'd achieve before Friday: we defeated Bahamut Prime in The Burning Heart, bringing our expeditions into the Final Coil of Bahamut to a close — for now, at least; we have some members of our static raid group who are still yet to clear these fights, so we'll be helping them through at some point soon.

As the "true final boss" of the game, I was hoping that the Bahamut Prime fight would be pretty spectacular, and sure enough I wasn't disappointed. Here's a video (from my character's perspective as a Black Mage) of our clear:

The fight is not only a suitably challenging battle to bring the main endgame raid of "vanilla" Final Fantasy XIV to a close, it's also a fitting conclusion for a Final Fantasy game. Japanese role-playing games are often known for getting a little… peculiar in their final confrontations, with final bosses often being fought in space, in clouds of darkness, in strange swirling miasmas or inside the cores of planets. In the case of Final Fantasy XIV, your battle against Bahamut Prime takes place within Bahamut's own heart — Bahamut Prime, it seems, is not literally Bahamut himself (since he is both absolutely massive and in the process of being regenerated by the various Coils) but rather a manifestation of his will and rage.

This doesn't stop him being a formidable opponent, mind you. The fight combines mechanics from a number of earlier battles to create a confrontation where you have to use everything you've learned about handling mechanics to be successful. There's heavy amounts of damage. There's people taking responsibility for ensuring the group isn't wiped out by carelessness or inattention. There's puddles of nasty shit on the floor that you have to drop carefully. And, of course, there are Divebombs, Final Fantasy XIV's most notorious enemy ability, first introduced in the Turn 5 fight against Twintania, later seen in a somewhat different format in the Turn 9 fight against Nael deus Darnus and finally seen from not one but two independent sources in the Bahamut Prime battle.

Divebombs are notorious because in the case of Turn 5 in particular, they were the "roadblock" that stopped a lot of groups from progressing further, simply because they're tricky to handle properly and can have devastating consequences for the whole group if handled incorrectly. Their inclusion in each of the three "final" battles in the three separate parts of Coil shows the battle designers' awareness that they are a challenge — albeit a surmountable one — and a desire to test players' abilities to the maximum, often without the helpful visual telegraphs that many of the other enemy attacks in the game have.

But anyway. You didn't come for a deconstruction of the mechanics of Final Fantasy XIV's raids. (Probably.) You came to hear me enthuse about beating a spectacular final boss fight — and, if you've watched the video, you'll see that it most certainly is.

As I've written about a few times previously on these pages, I'm a big fan of well-done final confrontations, and a big part of an effective one in my book is good use of music. Turn 5 and Turn 9 (the previous "final bosses" of the game prior to the introduction of Final Coil) both had great music that was unique to the fight (or "almost unique" in the case of Turn 5 — it's also used for the final boss of the main 2.0 storyline as well as a later confrontation); Turn 13, meanwhile, makes stunningly effective use of the game's main theme song "Answers".

"Answers" is one of the first things you hear in A Realm Reborn, since it accompanies the dramatic introduction sequence that depicts the end of the 1.0 world through the Calamity — an event that those who played the original incarnation of Final Fantasy XIV actually lived through.

The Calamity saw the descent of the artificial moon Dalamud as a result of the machinations of Nael van Darnus, an overly ambitious Imperial legatus and the main antagonist of the 1.0 storyline. As the moon approached Eorzea, however, an unexpected thing happened: it burst open to reveal a very angry Bahamut, who proceeded to lay waste to the realm in his somewhat understandable rage — after all, you'd be pissed off if you'd been locked inside a moon since ancient times, wouldn't you?

All looks lost for Eorzea, but the intervention of Archon Louisoix, a major character in the 1.0 storyline and quests, sees something mysterious happen that no-one quite understands or remembers. Everyone wakes up five years later in a realm that is somewhat different to what it once was, but still very much intact. This is how A Realm Reborn kicks off, but the main storyline then goes off in its own direction and the truth of what really happened in the Calamity doesn't start to be revealed when (if) you venture into the Binding Coil of Bahamut.

Through your explorations of the three Coils, you discover not only the truth behind the Calamity, but also what happened to a number of important characters who had apparently disappeared or died — most notably, Louisoix himself and Nael. Needless to say, everything comes back to Bahamut in the end — but during your investigations you also discover exactly what it was that led to Bahamut's imprisonment inside the artificial moon, and why he's so full of rage and resentment towards humanity.

Since "Answers" is a song so closely tied to this storyline, it's fitting that it should be the accompaniment for its final conclusion. And it's used beautifully throughout the fight, too, beginning with the mournful baritone lyrics speaking of suffering and pain, moving through the gentler, sweeter female lyrics that speak of "the land's light of justice" and walking free before eventually culminating in the gloriously thick-sounding choral finale. The music isn't just played straight through, though; the simple, sparse baritone singing is used in the fight's first phase, the female lyrics come in in the second phase as you start having to deal with Bahamut's minions as well as the dragon god himself, and the explosion of passion that is the finale comes as Bahamut Prime begins casting his ultimate attack Teraflare: a devastating blast of flaming energy that, assuming you survive, signals the beginning of the end.

Final Fantasy XIV uses music spectacularly well throughout to help with its storytelling. Each of the story's main confrontations are accompanied by their own unique theme tunes, many of which have relevant lyrics. The presentation of the game's absolutely, positively, definitely final battle (until Heavensward, obviously) is no exception to this, and I'm very excited to hear what Soken and his team come up with to accompany our new adventures.

It's now 1am, though, and since I've had like three hours sleep, I think it's probably time I caught up a bit.

1970: Phoenix Down

We cleared The Final Coil of Bahamut, Turn 3 (aka Turn 12) in Final Fantasy XIV this evening. That means there's only one more boss left to go until I've officially cleared everything in the game at least once. Said boss is a biggie, however; I'd expect nothing less, both for the "true final boss" of the game and for the "true final boss" of a Final Fantasy game.

Turn 12 is an enjoyable fight, though. It took a bit of practice to get it right, but we eventually got there without too much difficulty and frustration. It's interesting in that it's quite unforgiving of any mistakes you might make, but also relatively straightforward and easy once everyone knows what they're doing. There's a lot less in the way of randomness than some of the other encounters (particularly in Coil) so there's a lot less in the way of unexpected things for the party to deal with — any unfortunate happenings can usually be traced directly back to someone doing something wrong somewhere.

Interestingly, a guildmate pointed out that the fight is very unforgiving because unforgiveness is an important narrative theme of the confrontation itself. I won't spoil the story context of it for those who are yet to clear and hoping to remain unspoiled — it's a significant narrative moment in the grand scheme of Final Fantasy XIV's overarching storyline, particularly the spectacular cutscene that follows your victory — but I found it really cool that the mechanics of the game mirrored the narrative themes so nicely. It's a subtle thing, but as someone who is very much interested in the different ways interactive entertainment can tell stories, I liked it very much.

I've been a little burnt out on the game recently, as prior to the imminent expansion Heavensward it's been going through its longest drought of new content since it launched, and it's been hard to motivate myself to keep running the same things over and over again, particularly as in some cases the things I "need" to run for various quests are things that have been in the game since launch, and as such I can probably do them in my sleep. (The Aurum Vale is a bit of an exception; I kind of like that there's a dungeon that can still kick the arse of an unprepared or complacent party, even if it can be frustrating to plough through sometimes.)

There's also the fact that with Heavensward comes a level cap increase, too, and as such a lot of the shiny, top-end gear that everyone's been stocking up on will probably be irrelevant in a matter of weeks following the expansion's release — though not much has been revealed about new gear as yet, so it will be interesting to see how they deal with the discrepancy between character level (currently capped at 50, rising to 60 with Heavensward) and gear level (currently capped at 130, with a couple of individual items being level 135) without revamping the whole system. (Or perhaps they will revamp the whole system, I don't know. Either way, I'm looking forward to it.)

Running T12 tonight, though, reminded me the main reason I play this game; it's not to always be running new and exciting things, it's not to bring down fearsome foes — though that's cool — and it's not to experience the story (which is also great) — but instead it's to have a good time with people who have become really good friends over the course of the last couple of years. The feeling of camaraderie you build when playing a game like this over a long period is unlike anything else in all of gaming, and it's a delight to be able to team up for nights like tonight, where everyone bands together against a common challenge and helps each other out.

So yeah. I may be a little burnt out on grinding for tomestones and the current gear treadmill, but there's still plenty of life in Eorzea's champion Amarysse yet; and I have no doubt whatsoever that Yoshi-P and his team will deliver a spectacular experience with Heavensward that will make me fall in love with the game all over again. Only 6 days until Early Access starts… man, I better finish Omega Quintet before then…

1923: Target: Bahamut

After successfully clearing The Second Coil of Bahamut in Final Fantasy XIV a while back, our raid group is now on to the Final Coil of Bahamut — the last four encounters in this particular part of the story, and, like its predecessors, some of the toughest fights in the game.

Since we're approaching the release of expansion pack Heavensward, which will feature an all-new raid set inside giant fortress/robot thing Alexander, The Final Coil of Bahamut has been "nerfed" slightly in order to allow a few more people to make it through. Specifically, the "Echo" bonus that was gradually introduced in previous Turns has been brought in, giving anyone who enters an immediate 10% boost to their maximum HP, damage dealt and healing.

This doesn't make the encounters easy, by any means — although we've all cleared Turn 10 (aka The Final Coil of Bahamut, Turn 1) several times, today we had real difficulty with it for some reason. So after a while we gave up and took a look at Turn 11, which none of us had seen at all before.

For the unfamiliar, the Binding Coil of Bahamut storyline in Final Fantasy XIV is effectively a direct follow-up to how version 1.0 of the game ended — with "The Calamity", which saw artificial moon Dalamud called down from the sky, only to burst open and reveal a very angry dragon god called Bahamut, who promptly proceeded to blow seven shades of shit out of Eorzea. Archon Louisoix — grandfather of Alphinaud and Alisae, the former of whom is a main character in A Realm Reborn's main storyline and the latter of whom serves as the "protagonist" of sorts for the Binding Coil of Bahamut narrative — did something appropriately spectacular when all hope looked lost, leaving a number of adventurers temporarily trapped in limbo until they woke up five years later in an Eorzea that was in the process of being rebuilt. What happened to Bahamut? That's the question that the Binding Coil of Bahamut sets out to answer, and you gradually discover bits and pieces about what really happened as you progress through it.

That's not all, though. Although Final Fantasy XIV's setting of Eorzea is very much "swords and magic" fantasy, with a hint of magical technology lifted pretty much directly from Final Fantasy VI, there's also a hint of sci-fi in there. Like any good sprawling role-playing game worth its salt, Final Fantasy XIV has an ancient race of long-dead weirdos who left mysterious, technologically advanced relics all over the world. The background of said weirdos — known as the Allagans — runs as an interesting undercurrent to everything else that is going on, and is specifically explored through both the Crystal Tower and Binding Coil of Bahamut story arcs, with it being necessary to complete both to get the full picture — or at least, everything that has been revealed about them so far.

The Binding Coil of Bahamut is where some of the most interesting, exciting and surprising developments in this aspect of the game's overall lore come, and it's also home to some of the most spectacular visual settings in the whole game. By jumping head-first into the sci-fi angle, the Binding Coil of Bahamut is free to let loose with some enormously creative, absolutely massive environments that are quite unlike anything seen anywhere else in the game. Turn 11 in particular, which we saw for the first time tonight, is quite astonishing to behold, unfolding in and around an enormous scale model of the artificial moon Dalamud, and I understand that 12 and 13 are even more spectacular. I'm looking forward to it.

The thing I'm looking forward to most about this, though, is the fact that it represents the "true final boss" of the game as a whole as it exists today. And, while I haven't spoiled myself on the encounters in Turn 12 and 13 as yet — though I can pretty much figure out who/what you'll be fighting there — I have had a listen to the music. And it's going to be quite the experience battling with this — the music from Turn 12 — in the background, I feel.

We have a big hydra… thing to flatten first, though, and we're taking another pop at it tomorrow. Wish us luck!

1909: How to Black Mage

Following on from yesterday's post summarising what I've learned about playing Paladin in Final Fantasy XIV, I will now follow up with what I have learned about playing Black Mage, the class I initially started playing the game in. Again, I'm not claiming to be the World's Best Black Mage, but this is what works for me.

Golden Rules

As a DPS class, your job is to maximise your damage output as much as possible — but at the same time, you're no good to anyone dead. Black Mages wear light armour and have significantly lower HP values than melee DPS classes, so try and avoid taking damage as much as possible. If it's avoidable, you should be avoiding it — even if this comes at the expense of a spell you're in the middle of casting.

In other words, if you find yourself in an area-effect marker and you're in the middle of casting a spell, don't hesitate, move, even if this interrupts your cast. The only exception to this is if your cast bar only has about 10% or so remaining, in which case the spell will still go off even if you start moving. Learn encounters and be able to anticipate attacks so you know when it's safe to stand still and let off some spells and when you should be prioritising movement. If you outgear content, you may be able to survive some big hits, but this isn't a good habit to get into. Particularly heavy hits will interrupt your cast anyway, so just get out of the way, okay?

Black Mage Basics

Learn how Astral Fire and Umbral Ice work. Astral Fire increases the damage from your Fire spells but nullifies MP regeneration. Umbral Ice increases your MP regeneration at the expense of damage for your Fire spells. Thunder spells are unaffected by whether you're in Astral Fire or Umbral Ice, so should be cast while you're in Umbral Ice and regenerating for your next barrage of Fire spells.

Blowing a Thing Up

Black Mages have two real modes they'll be in depending on content: single-target, used for bosses and individual enemies, and area-effect, used in dungeons and particularly on big pulls.

When attacking a single target, here's the sequence of spells you should be using:

Fire III -> Fire -> repeat Fire until 770MP or less -> Blizzard III -> Thunder I -> Blizzard I -> repeat

This has (apparently) been calculated as the optimum DPS rotation for most Black Mages, since it allows you to cast pretty much continually. The 770MP threshold is there so that you have enough MP to cast Blizzard III once — which puts you into Umbral Ice status and thus starts your MP regeneration — and get off a cast of Thunder I (which deals damage over time) even if you haven't yet had a "tick" of MP replenishing.

Why not Thunder II or Thunder III? Because they cast considerably slower. Once you hit level 50, Thunder II will be largely irrelevant, and Thunder III should be saved for your "Thundercloud" procs, which allow you to instantly cast a Thunder spell to deal all its damage immediately plus the damage-over-time effect it usually does.

On that note, because Thunder III has a stronger, longer damage-over-time effect than Thunder I, if you hit a Thundercloud proc before Blizzard III in the combo above, replace the Thunder I with another Blizzard I or Scathe, since there's no sense "overwriting" the Thunder III status effect with an inferior effect. The only exception to this should be if there's only a couple of seconds left on the Thunder effect.

When to Hit Firestarter and Thundercloud

If the target currently doesn't have a Thunder effect on it, Thundercloud can be hit immediately to bump up your DPS somewhat — remember to use Thunder III rather than Thunder I. If the target does currently have Thunder on it, it may be worth saving it for the Umbral Ice phase; the immediate cast may allow you to get an extra Blizzard I or Scathe in there at the end for a small DPS increase.

Firestarter should be used immediately if in Astral Fire, and never in Umbral Ice. If you get a Firestarter with your last Fire before your Blizzard III and it's too late to cancel the Blizzard III cast, don't panic; cast Blizzard III -> Thunder -> Blizzard I as normal, by which point your MP should be back at full, then drop in a Transpose. This puts you back at Astral Fire I status, which is a slight damage decrease from Astral Fire III, but still enough to make the free Fire III from Firestarter meaningful. After using Firestarter in this way, continue from Fire.

Blowing Several Things Up

When facing three or more targets, it's probably more efficient to use area-effect spells. Here's a sequence of spells that works well and is apparently, again, optimised for maximum DPS.

Fire III -> Flare -> Transpose -> Fire III -> Fire II -> Fire II -> repeat from Flare

This combo allows you to use Flare considerably more often than the frequently seen Fire III -> Fire II until 250MP -> Flare and thus represents an increase in damage potential.

Target an enemy as close to the centre of the group as possible. If the enemy you're targeting is down to about 20% HP or less, switch to another target with more HP so you don't have your cast interrupted by the enemy being killed before you get your spell off.

Double and Triple Flares

Flare normally costs all your MP and requires at least 250MP to cast in the first place. As such, it usually leaves you with 0MP in Astral Fire III status, which is no good to anyone. As such, Transpose is normally used immediately after Flare to regenerate some MP, and indeed this is how the sequence above is built.

However, there's a couple of little tricks Black Mages can use to get more than one Flare off in quick succession. All you need to do is get at least 250MP back, which can be done using either an X-Ether potion or the skill Convert, which sacrifices some of your HP to give you some MP.

To perform two Flares in a row, do one of the following:

Fire III -> Flare -> X-Ether -> Flare
Fire III -> Flare -> Convert -> Flare

To perform three Flares in a row, simply combine the two:

Fire III -> Flare -> X-Ether -> Flare -> Convert -> Flare

Since Flare has a long cast time, it's worth using Swiftcast on the final Flare in one of these sequences to make it cast instantly.

Note that triple Flare in particular generates an enormous amount of aggro, so either warn your tank that you're going to do it, or make use of the level 34 Bard skill Quelling Strikes — which Black Mages can use as a cross-class ability — to reduce the aggro you're generating before you unleash the beast.

Also note that X-Ethers, Convert and Swiftcast all have cooldowns of varying lengths (Swiftcast is back up quickest, then Convert, then X-Ethers), so don't double or triple Flare carelessly; save it for when you're dealing with a large group or need to deal a massive amount of damage very quickly.

Staying Safe

Black Mages have a few skills that help them stay safe, chief among which are Manawall and Manaward. Manawall will absorb two physical attacks before it's dispelled. Manaward will absorb up to 30% of your maximum HP's worth of damage before it's dispelled. Both have a time limit and a moderate-length cooldown, though, so you can't simply keep them up all the time.

It can sometimes be tough to tell which are physical attacks and which are magic attacks. As a general rule, anything that involves elemental damage — fire, ice, thunder, wind, water — is probably magic, while everything else is physical. Note that the earth damage Titan does seems to be considered to be physical damage rather than magic damage despite it being elemental in nature.

One interesting side-effect of Manawall — and the game's damage system in general — is that if you don't take any damage from something, associated Bad Things won't happen either. This means that Manawall, when used effectively, can be used to avoid status effects and knockbacks. Learn which encounters allow you to do this.

Another interesting ability that Black Mage has is Aetherial Manipulation, which causes you to fly through the air to a target player. This is useful for getting out of the way quickly — or in trials like The Whorleater (Extreme) where you're at risk of falling off the platform, it can be a lifesaver.

Finally, squishy party members and tanks alike will thank you for casting Apocatastasis on them, which reduces elemental damage for a short period. Plus it makes a great noise. Note that once someone has had this cast on them, they can't have it cast on them again for a short period. The ability also has a cooldown period, so only use this when it will actually be of benefit to the party member in question!
1896: Mastering War

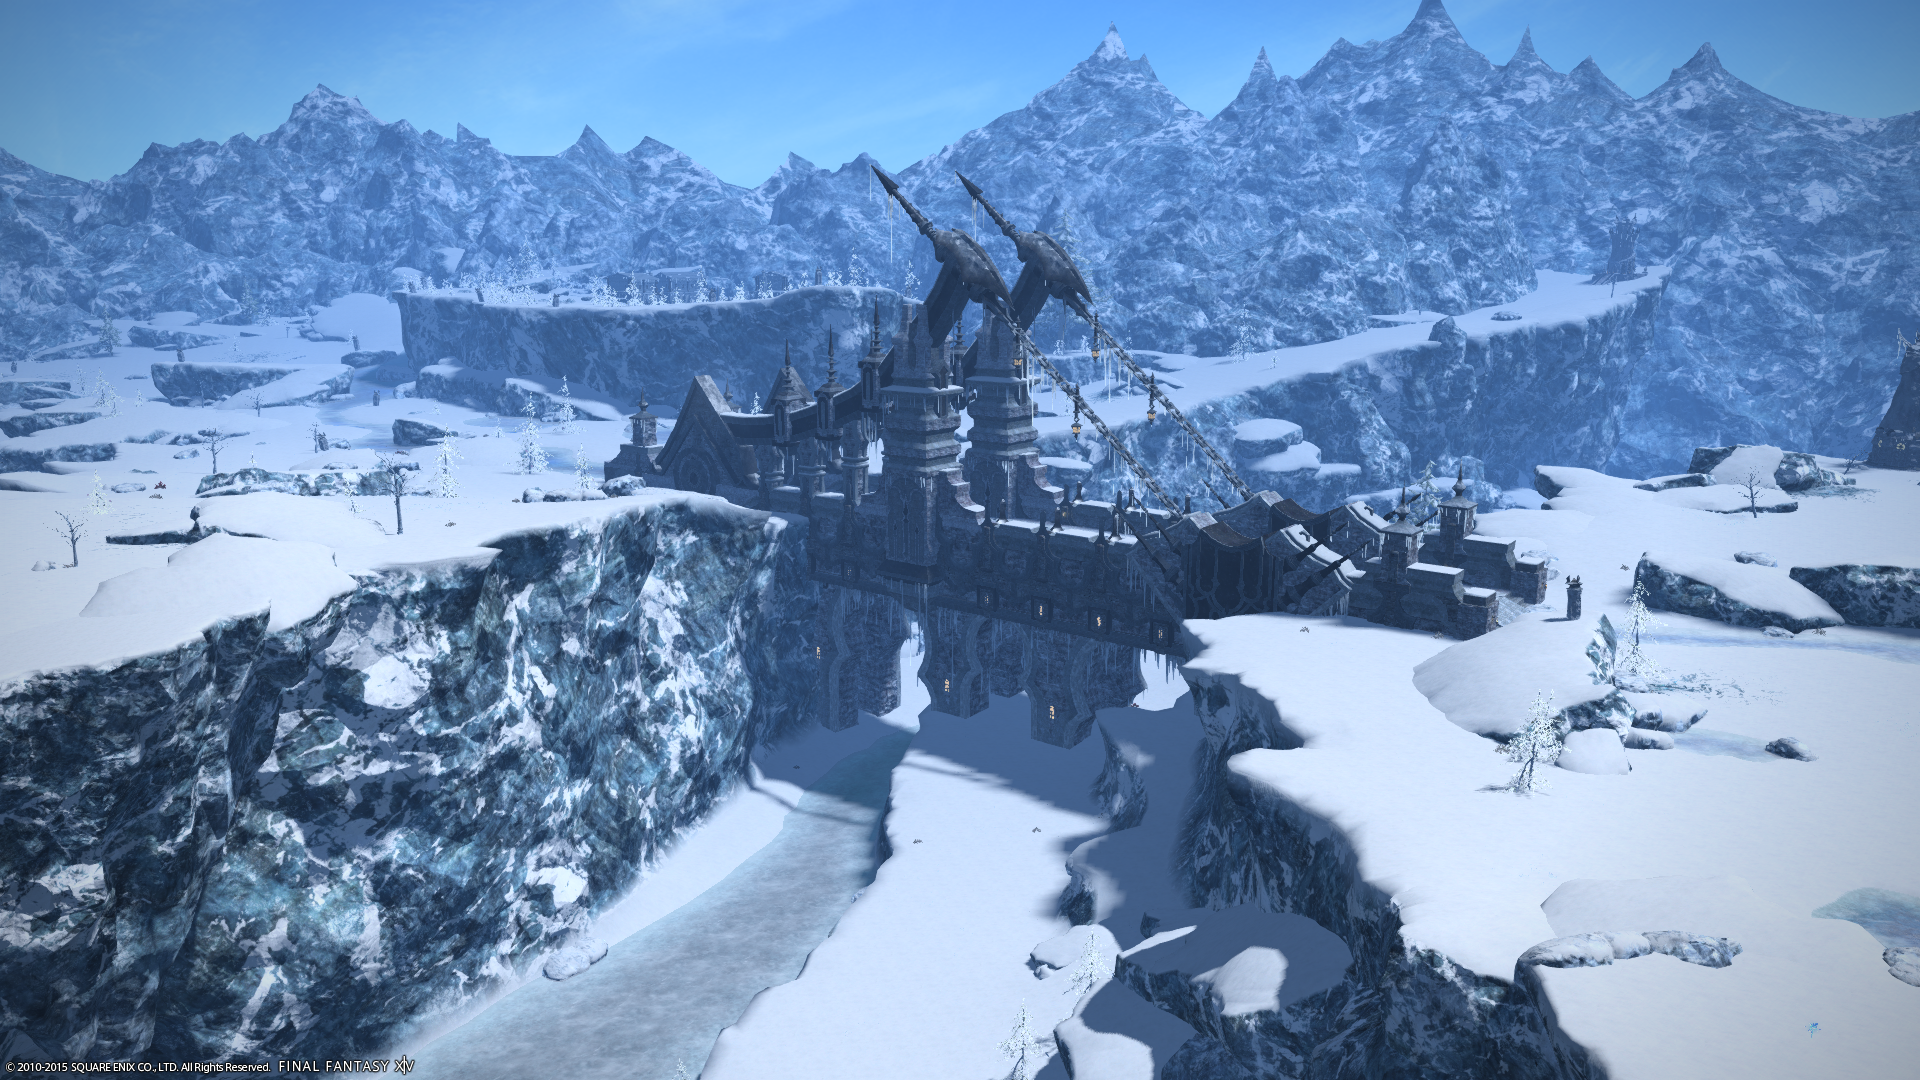
Ahead of the release of Final Fantasy XIV's expansion Heavensward, I've been levelling some of the other classes that I either haven't touched or had only levelled a little bit. Today I reached level 50 on my fourth battle class: Warrior. (My previous 50s were Black Mage, White Mage and Paladin, in that order; I now play Paladin more than anything.)

Warrior is one of the two tank jobs in the game — i.e. their job is to maintain the attention of enemies and get punched in the face so the rest of the party doesn't get punched in the face. Having gained a lot of experience with how Paladin does things, I have to admit I was somewhat skeptical about how different Warrior could possibly be. After all, their reason for existing is the same, and it's not like damage-dealing classes where you can make a distinction between ranged and melee characters; a tank is, by its very nature, a melee class.

I've been pleasantly surprised by how different it feels, though. This is down to several factors, both mechanical and aesthetic.

On the mechanics front, Warrior initially appears to be a more complex class to play. Whereas Paladin only really has two main "combos" of abilities to worry about — one for single-target threat generation, one for maintaining your stock of MP so you can keep aggro on larger groups — Warrior has several more, each of which has its own function. There's a basic aggro-generating combo that is the backbone of your single-target tanking, but there are also two combos that branch off the damage-increasing "Maim" skill, one of which reduces the enemy's damage output, another of which reduces their resistance to a particular kind of damage while increasing the healing you receive. Alongside this, fighting as a Warrior in your tank stance builds up stacks of "Wrath" which, when they reach five, can be expended for one of several special abilities.

So, to put things simply, there are more buttons to press as Warrior — or, more accurately, more different combinations of buttons to press according to the situation. Paladin is mostly about managing your defensive abilities to mitigate as much damage as possible; there's still an element of this with Warrior, but it's a much more aggressive, active class with self-heals and attacks that inflict various status effects.

Aesthetically is the other big different. Although most classes in Final Fantasy XIV work off a 2.5 second global cooldown (i.e. 2.5 seconds has to elapse before you can use another ability) and consequently play at the same "pace", Warrior and Paladin feel worlds apart due to their animations and sound effects. Paladin's sounds are higher in pitch, the animations more fluid; Warrior's animations look more cumbersome and make lower-pitched, heavy-sounding impacts. The reason for this big difference is the difference in weapons, of course — Paladins use a one-handed sword and shield, while warriors use axes as big as themselves — but it's surprising quite how pronounced the contrast is between the two classes, even though the basic "pace" of how they play is very similar.

Having got Warrior to 50, I'm not sure if I'll do much more with it, but I'm glad I've experimented with it and now have the flexibility to use it in endgame content when I want to. Overall I prefer the faster-feeling fluidity of Paladin, plus I know that class a lot better and thus feel more confident using it in difficult fights, but I'm not going to rule out a bit more axeplay in the future!

What's next? Probably Bard, which I've already got to level 40; while a ranged DPS like my Black Mage, Bard plays very differently owing to the fact you don't have to stand still to use abilities and don't have as much of a set skill rotation as Black Mage does. After that it's on to the classes I haven't used much or at all before: Monk, Dragoon, Ninja and Arcanist (which becomes both Scholar and Summoner).

1890: Nael deus Defeated

A group of friends and I (including Andie) reached a milestone in our Final Fantasy XIV careers this evening: we defeated Turn 4 of the Second Coil of Bahamut, also known as "Turn 9" owing to it being the ninth in the series of thirteen high-level raid encounters that make up Final Fantasy XIV's endgame.

FFXIV's endgame raid is split into three main parts. The Binding Coil of Bahamut (which consists of Turns 1 to 5) is mostly — mostly — trivial in terms of difficulty these days owing to the fact that the average gear level of a level 50 character who plays a reasonable amount each week now exceeds the level these encounters were designed for by a considerable margin. As time has gone on, The Binding Coil of Bahamut has also been "nerfed" in terms of mechanics — i.e. made easier — and parties challenging it are now given a substantial buff to their HP, damage dealt and healing when they walk in, though those looking for a bit more of a challenge can optionally turn this buff off.

The Binding Coil of Bahamut reaches its conclusion with Turn 5, a notoriously difficult fight that sees a party of eight taking on Twintania, a very angry dragon. Turn 5 remains a challenge for many groups to this day not because Twintania is particularly difficult to kill in terms of her HP and damage — the aforementioned gear issue here makes the encounter much easier than it once was — but because everyone in the group needs to have a solid understanding of most of the fight's mechanics in order to succeed. Again, the power creep has meant it's easier to recover from critical errors, but if you don't know how to deal with her notorious Divebomb attack, for example, you're going to die and quite possibly take the rest of the group with you.

The Binding Coil of Bahamut is followed up by the Second Coil of Bahamut, which consists of Turns 6 to 9. These are significantly more challenging, even with the "Echo" buff to player HP, damage and healing. Mechanics are more unforgiving — though again, a number have been nerfed over time — and they're still not exactly the sort of encounters you can pick up and expect to coast your way through without knowing anything about them. Groups need to work together and be able to communicate effectively in order to pass through these challenges, and it all comes to a head with Turn 9.

Turn 9 remains notorious as one of the hardest fights in the game, even with the Final Coil of Bahamut subsequently being added after it. It proves to be a considerable roadblock to many groups, and indeed our party has been working on beating it for many weeks now.

The reason why it's such a challenge — even more so than Turn 5 — is because of its extreme complexity. In this one fight, which takes in the region of 10 minutes to complete, there are roughly as many mechanics as you'd see in at least four separate boss encounters earlier in the game. There is a lot to learn, and it feels like an insurmountable challenge the first time you jump in, but as our group have proven tonight, taking it a step at a time and practicing together whenever we get the opportunity allows you to eventually reach success.

And my God what a wonderful feeling it was as that HP bar dropped to 0% tonight. We'd had several close calls earlier in the evening — first a 9%, then a 10%, then a 6% — but there was no guarantee that we were going to beat it. But beat it we did, and many celebrations were had; now we have until June to make it through the Final Coil of Bahamut before the expansion pack Heavensward comes along and gives us an entire new raid set in Alexander to take on.

I'm looking forward to the challenge. The feeling of jubilation at finally defeating this notoriously difficult boss this evening is unlike pretty much anything I've ever experienced in any other game — and at least part of that comes from the game's multiplayer element. It wasn't just my victory, it was our victory. We worked together, we practiced, we communicated, and eventually we prevailed. And it felt great.

We poked our head into the first turn of Final Coil this evening, but didn't get anywhere, as expected. That's an adventure for another day! In the meantime, here's our clear video:

1868: A Relic Reborn, Again (and Again)

I am finally on the final step of one of Final Fantasy XIV's most lengthy, gruelling challenges: the "Relic" quest, which can begin the moment you hit level 50 and will keep you going right up into top-tier endgame play. It was designed as an alternative for more "casual" players to be able to get better weapons over time without having to jump into super-difficult raids — a process which requires organisation and commitment from people in order to make any meaningful progress. The intention was to give these "casual" players something that would take about as long to complete as it would for a raider to be able to master top-level content and score the sweetest possible loot from them, but somewhere along the line the Relic questline became all but obligatory for everyone to complete, if only as a matter of pride.

As previously noted, it's a long and gruelling — though not especially difficult — process.

First you have the quest to acquire the weapon in the first place. This is an involved, multi-part affair that involves tracking its timeworn and weathered form down — usually from the depths of a monster-infested area — and then setting about finding the materials that master weaponsmith Gerolt needs to restore it to its former glory. Rather inconveniently, these materials can only be found in the somewhat uninviting lairs of Eorzea's Primals Ifrit, Garuda and Titan, so having already floored these massive enemies once during the course of the main story, you're now tasked with killing them again. This used to be a genuinely challenging task, back when the base Relic was pretty much the best weapon you could get in the game, but it's become almost trivial now thanks to how well-geared the vast majority of the level 50 population is now. There's also a dungeon to run (Amdapor Keep, which was the hardest four-player dungeon in the game when it launched, but which again has now become somewhat trivial) and two more boss fights against a Chimera and a Hydra that are new to the Relic questline.

After all this — and a bit of testing out the unfinished form of the weapon on unsuspecting members of Eorzea's beast tribes — you're finally blessed with an item level 80 weapon, which can be upgraded to item level 90 and made to glow in a rather fetching "this is special!" manner through the judicious application of Thavnairian Mist, a rare concoction that can only be acquired by exchanging Allagan Tomestones with collectors of rarities. Tomestones are a special currency rewarded for completing content at level 50 — since you no longer get experience points at this level, having reached the level cap, they form the basis for progression beyond this point. Pretty much anything that involves other people will reward you with Tomestones, be it four-player dungeons, eight-player Trials, twenty-four player raids or the extremely tough challenges of the Binding Coils of Bahamut.

This form of the weapon, known as Zenith, used to be pretty much the best weapon you could get outside of downing Turn 5 of the Binding Coil of Bahamut — a tall order even for well-geared players even today — and acquiring one of the Allagan weapons. But as time went on and the game gradually expanded with each new patch, so too did the Relic quest.

It began with Atmas, a step which, for many, proves an insurmountable obstacle, but which sets the pace for the amount of commitment required to finish this lengthy process. Atmas are small crystals containing the souls of fallen warriors, and can be acquired randomly by participating in FATEs — public events that occur every so often in each of the game's zones — and completing them successfully. There are twelve Atma in total to collect, meaning you'll have to visit twelve different zones to participate in FATEs. In game terms, this step was designed to get level 50 players helping out with low-level FATEs, since a tweak to how experience points were awarded in the game's early days saw people turning to instanced dungeons for quick experience points rather than wandering around out in the open world helping one another.

The cruel twist in the Atma step was that once you'd acquired all twelve Atma, all that happened when you "upgraded" your weapon was that it lost its cool glow from the Zenith step. Its stats didn't change at all. But it was still an important step, because it made your weapon ready for the gradual upgrade process that came next.

By exchanging further Allagan Tomestones with a collector in Mor Dhona, you could acquire books telling tales of the "Zodiac Braves", and you're told that by recreating these tales of derring-do using your Atma Relic, you can improve it considerably. What this boils down to is a set of objectives — 100 specific monsters to kill, three specific dungeons to complete (or, more accurately, three specific bosses to beat), three specific FATEs to participate in and three specific levequests (short, repeatable quests) to complete. You had to do this nine times in total; each completed book rewarded you with a small increase to the stats on your Atma weapon, so it gradually improved over time. When all the books were completed, your Atma weapon regained its glow — a more substantial one this time — and became its Animus form.

Next up, you're told that you can improve the weapon further — and, crucially for this step, customise it — by infusing materia into a "sphere scroll". In order to do this, you need the sphere scroll itself (which costs yet more Tomestones), seventy-five pieces of Alexandrite as a catalyst to infuse the materia into the scroll, and at least seventy-five pieces of materia of the appropriate types to give your weapon the stats you want. Alexandrite can be acquired by participating in FATEs, bought with Allied Seals acquired by beating the giant monsters of The Hunt, or by digging it up using Mysterious Maps acquired from a strange old lady in Mor Dhona who appears to have been using them to clean her kitchen. The more materia you attach to the scroll, the higher the chance that the infusion will fail; fortunately, you only lose the materia if this happens, while the Alexandrite remains in your possession. Your reward for successfully infusing seventy-five points' worth of stats into the sphere scroll? Your Relic's Novus form, which has a somewhat more imposing glow.

For a while, again, Novus was the pinnacle of what you could have in terms of weaponry, and it was particularly powerful due to the fact that you could customise it. The materia to do this — particularly for popular stats like Determination (which increases damage) and Critical Hit Rate (which increases the likelihood an attack will deal considerably more damage than usual) — didn't come cheap, and the only other alternative was to "Spiritbond" equipment by using it to defeat monsters either in the world or in dungeons, then turn this equipment into materia, with random chance determining whether you'd get the kind of materia you wanted or a useless alternative. Thus, Novus was a long, difficult and expensive process for many, but taking the time to complete it would give you a strong weapon that would see you through pretty much anything the game could throw at you.

Then came another step. By "soulglazing" your relic and using it to collect soul energy — known colloquially as "light" owing to the fact your weapon glows with varying levels of intensity when it acquires this energy — you could make it more powerful still, improving the stats you'd infused into the Novus by a set amount according to the combinations and amounts you put in. In order to acquire light, you simply had to do pretty much anything that involved other people — dungeons, trials, even FATEs. Light was acquired at a very slow rate, however, and many resorted to running the same things over and over again for hours at a time in order to gain light most effectively. In practice, however, you could gain light at a good rate simply by playing the game as you normally would, attempting to acquire Tomestones to gear up your armour to match your increasingly powerful weapon. Upon filling your Novus with light, you'd be able to turn it into its Nexus form, the ultimate incarnation of the Relic you found all that time ago, and a weapon that you've truly helped to make your own.

But your efforts don't end there. Through this whole process, you've been developing a relationship with both a scholar of these ancient weapons and a local master blacksmith, and it eventually becomes clear that it's possible to recreate the legendary weapons of the Zodiac Braves themselves — but in order to do so there is, unsurprisingly, a somewhat convoluted process involved that requires you to do the dirty work of four separate individuals who have what you need to complete the weapon, but who aren't about to give their prizes up quickly.

By far the most gruelling part of this phase is acquiring specific items from specific dungeons. These are drops similar to the Atma in that there's only a random chance of you acquiring them when you complete a dungeon, and no guarantees. Consequently, you may find yourself running one dungeon lots and lots of times in order to acquire one specific item; at the other end of the spectrum, however, sometimes you get lucky and acquire it straight away. It's unpredictable and, at times, infuriating, but oh so satisfying when you get what you need.

After completing this epic slog, you're rewarded with a brand new weapon, recreating the form of one of the Zodiac Braves' weapons and infused with the soul energy you collected using your Relic. (These Zodiac weapons take the form of iconic weapons from past Final Fantasy games such as Excalibur for a Paladin, Kaiser Knuckles for a Monk, Yoichi Bow for a Bard and so on.) This is the stage I got to tonight: I now have Excalibur and its companion Aegis Shield.

But there's one final step to go: embracing the weapon's apparent sentience and sense of will, and forging an unbreakable bond between the two of you. In order to do this, it's another light grind similar to that for the Nexus, but this time instead of having to collect it all in one weapon, you gradually fill up twelve "mahatma" with soul energy, and the process is considerably quicker than before. This is the final step of a quest that's been in the game since launch, and your reward is a weapon that is likely to be the absolute best piece of equipment you can get until the expansion Heavensward arrives later this year and makes all this work irrelevant. (Actually, that's not quite true; producer Naoki Yoshida has said that those who put in the work to complete this questline will have a leg-up on whatever comes next come Heavensward time. Thankfully.)

It's a slog, to be sure, and it's even something that a lot of players will find offputting and want nothing to do with — thankfully, there are numerous alternative means of acquiring weapons, so even if you're playing multiple classes you don't have to go through this epic grind for all of them — but by God it's satisfying to reach a milestone in. I've likened it before to the idea of "building your own lightsaber" in a Star Wars game — something which has never been given the gravity it deserves, even in the Star Wars MMO The Old Republic — and it's true. By the end of this process, your weapon, even though it's just a collection of numbers, is part of you and your play style, and an important part of your character as a whole; the unbreakable bond between character and weapon isn't just for lore reasons — you'll feel it yourself as a player, too.

So wish me luck as I proceed on the final chapter of the Relic quest; I'm hoping to have Excalibur's "Zeta" form before I head off to PAX later this week. We'll see if I'm successful!

1827: Before Before the Fall

Well, here we go. The servers are down for maintenance, to come back up in 11 hours at the time of writing, and then the grand finale of Final Fantasy XIV: A Realm Reborn will be officially underway. I'm excited.

Before the Fall is the official name for patch 2.5 for Final Fantasy XIV's wonderful reboot A Realm Reborn, and it brings the main story that launched back in August of 2013 to a close… almost. Actually, tomorrow's release is just the first of three parts to the finale which is going to unfold over the course of the next three months, ultimately leading into the official expansion pack Heavensward, which is estimated to arrive sometime around April. (Just in time for my birthday!)

2014-07-24_00001

Why am I excited? Well, aside from the fact that Final Fantasy XIV's ongoing story has actually been very good, it's also the first time I've played a game like this through one of its transitional periods from "vanilla" to "expansion". I played a bunch of World of Warcraft back in the day, but it wasn't until Wrath of the Lich King was out that I actually made it to the level cap, and by then I already had two expansions worth of content to work through owing to the fact I had played it somewhat sporadically rather than with any great sense of commitment. Final Fantasy XIV, by contrast, is a game that I've been playing since its beta period back in 2013, and have been in love with ever since — partly due to the fact that it's simply a very good, very well-designed game (for the most part, anyway — everyone who plays has at least one thing they'd change if they had the choice!) but also due to the fact I've been lucky enough to have a regular group of people to play alongside, many of whom have been there since day one.

That sense of camaraderie, of having been through things together, of having "seen some shit", can't be understated. We may just be people scattered around the world playing a game together, but we've done a lot of different activities together. We've struggled from level 1 to level 50; we've put an end to Ultima Weapon's reign of terror; we've flattened the Primals of the land several times over; and we've started (or, in some cases, finished) to discover the truth behind elder Primal Bahamut and the fallen moon Dalamud. We've gathered legendary Relic weapons and powered them up through numerous lengthy and demanding quests; we've (well, I've) spent more time than strictly necessary putting together the perfect "look" to go adventuring with; we've crafted thousands upon thousands of metal ingots, meat pies, magic potions and deadly weapons. It hasn't always been easy, it hasn't always even been fun, but a core of us have stuck together through thick and thin and forged some close friendships as a result. And, of course, this happened.

2015-01-07_00002

This is, I'm aware, the third Final Fantasy XIV post I've done in a row — and with the patch launching tomorrow I can pretty much guarantee there's at least a couple more still to come. What that should tell you is what an entertaining and fun part of my life it's become over the course of the last year and a half or so; at this stage, it's more than just a video game: it's an activity I can enjoy with friends, and one I hope I can continue to enjoy in this way for many years to come.

Twelve bless you, Yoshi-P; you've done the Final Fantasy name proud and created an experience pretty much unlike anything else I've ever enjoyed in all of gaming. Here's to many more years of adventuring.